Winter crafts are a fun way to bring the season’s beauty indoors, and this DIY ice suncatcher is the perfect project for kids! It is easy to make with just a few simple materials.
This craft not only lets children get creative, but also allows them to enjoy the sparkling, colorful results as they hang in the winter sunlight. Whether you’re looking for a quick afternoon activity or a fun way to decorate your home, this suncatcher craft is sure to delight kids of all ages.
What Is an Ice Suncatcher?
An ice suncatcher is a craft made by freezing colorful items like flowers, beads, and glitter into a disk of ice. Once frozen, the ice is hung up or placed where sunlight can shine through it, creating a sparkling, colorful effect that mimics stained glass.
Why Is This Frozen Suncatcher Craft Good for Kids?
How To Make a DIY Ice Suncatcher: Step-By-Step Instructions
Creating an ice suncatcher is an easy and fun way to bring the magic of winter indoors by freezing colorful decorations into a sparkling work of art that can brighten any window.
Step 1 – Supplies
You will need:
- Yarn
- Water
- Nature: leaves, sticks, rocks, grass, flowers, plants, etc… You could also use things around the house like beads, glitter, shiny items, etc…
- An aluminum container
- Cold weather or freezer: this activity can be done in all weather types, but if it’s below freezing the suncatcher will stay intact longer
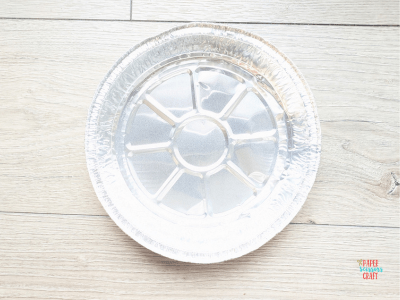
Step 2 – Gather Materials
When making an ice suncatcher, you can get creative with a variety of materials to make it sparkle and shine. Common options include flowers like pansies, violets, or small petals, which add natural beauty, as well as leaves and berries for extra color.
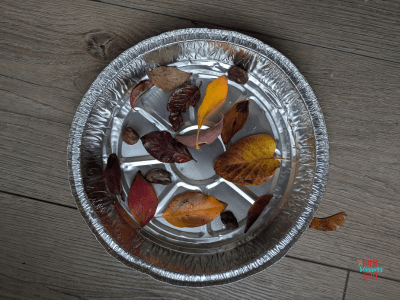
You could also use glitter, beads, and sequins for a little extra sparkle, or buttons and ribbons for a fun, textured effect. Try using food coloring to dye the water before freezing, creating colorful designs throughout your suncatcher. We decided to use leaves and other things we found around the yard.

Step 3 – Place in Container with Water
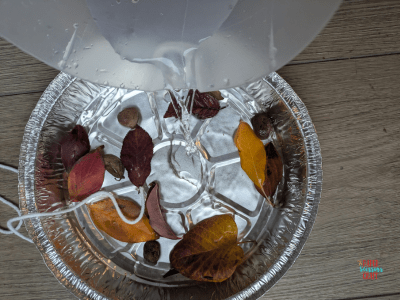
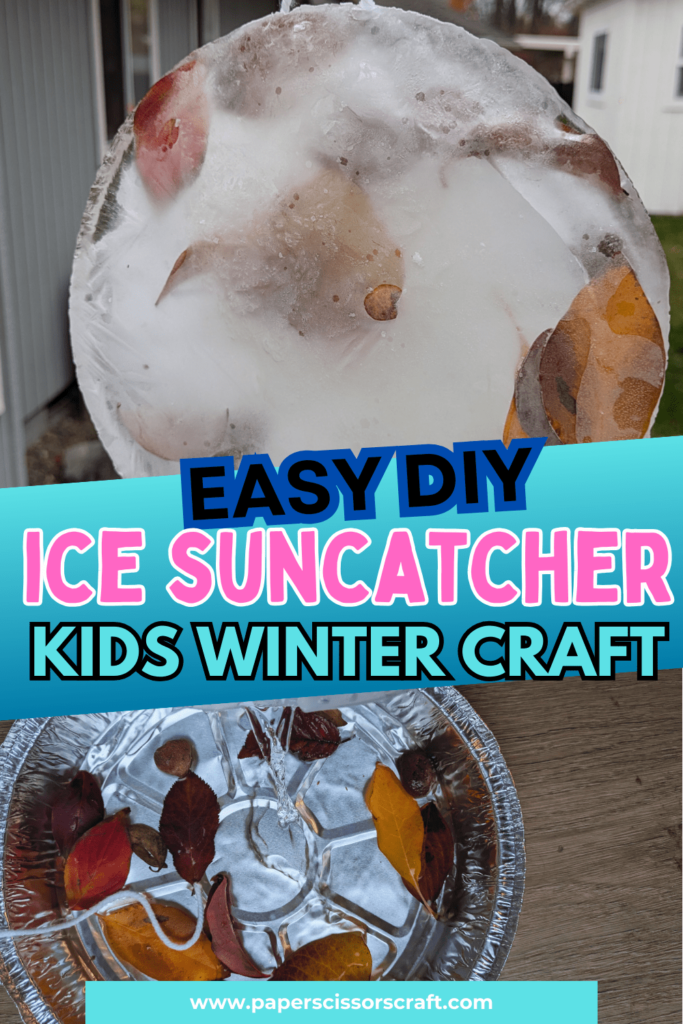
Once you’ve decided on what you want to put in your suncatcher, place them into the container and pour water over top. You want it to be about an inch thick. Once the water is in, then you can try to arrange the materials how you want them. They will move a little, but you can try to get them into the pattern you like.
Step 4 – Place the Yarn
After setting up your design, cut a piece of yarn about 2 feet long (it doesn’t have to be exact). You can also use any other small rope you might have. Place the yarn into the water. I put about 6 inches of the yarn in the water. You don’t want it to come out easily and your suncatcher will be heavy, so you want it to hold it.
I placed a rock on top of the yarn so it would stay down and not float to the top. You could also tape it to the side of the container so it stays down or use another heavy object, if you have it.
Step 5 – Freeze
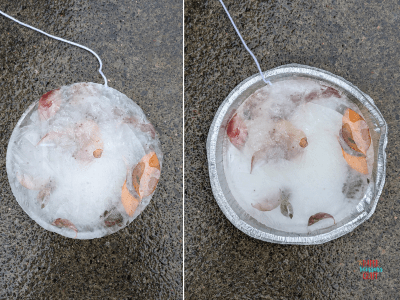
If it’s cold enough where you live, place the suncatcher outside overnight to freeze. If it’s not cold enough, place it in the freezer overnight.
Step 6 – Hang
Once it’s frozen, you can take it out of the container. It should pop right out. Now you can hang it up outside. Even if it’s not cold enough where you live, it’s fun to hang it up for a little bit, and watch it melt. Just be sure not to let it fall on someone’s head.
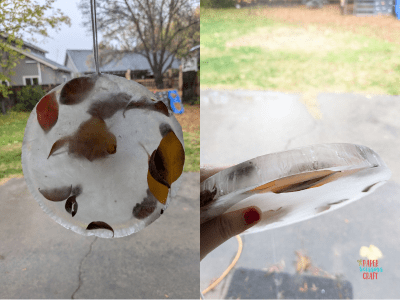
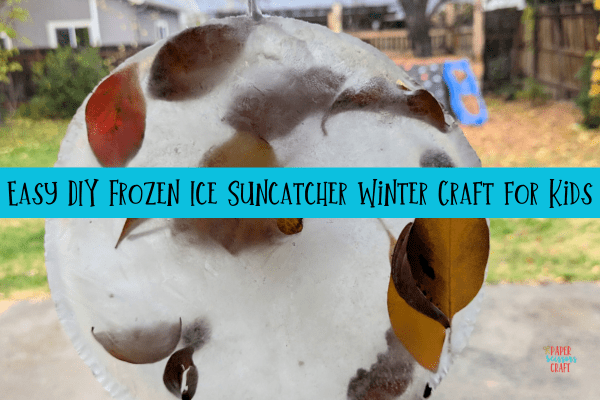
How did your ice suncatcher turn out?
Making an ice suncatcher is a simple and delightful craft that brings the beauty of nature and the season into your home. Not only do you get a colorful, shimmering decoration, but you also get to teach kids about the wonders of freezing and melting.
Hang your finished creation by a window, let the light shine through, and watch as your frozen masterpiece comes to life with sparkling colors. This craft is a fun, creative way to celebrate winter.
Other kids winter crafts and activities that might interest you:



Leave A Comment