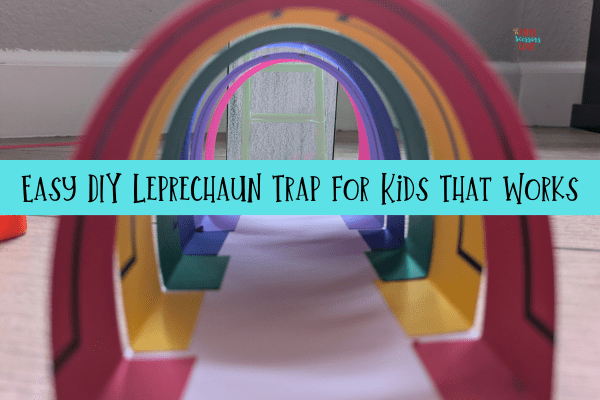
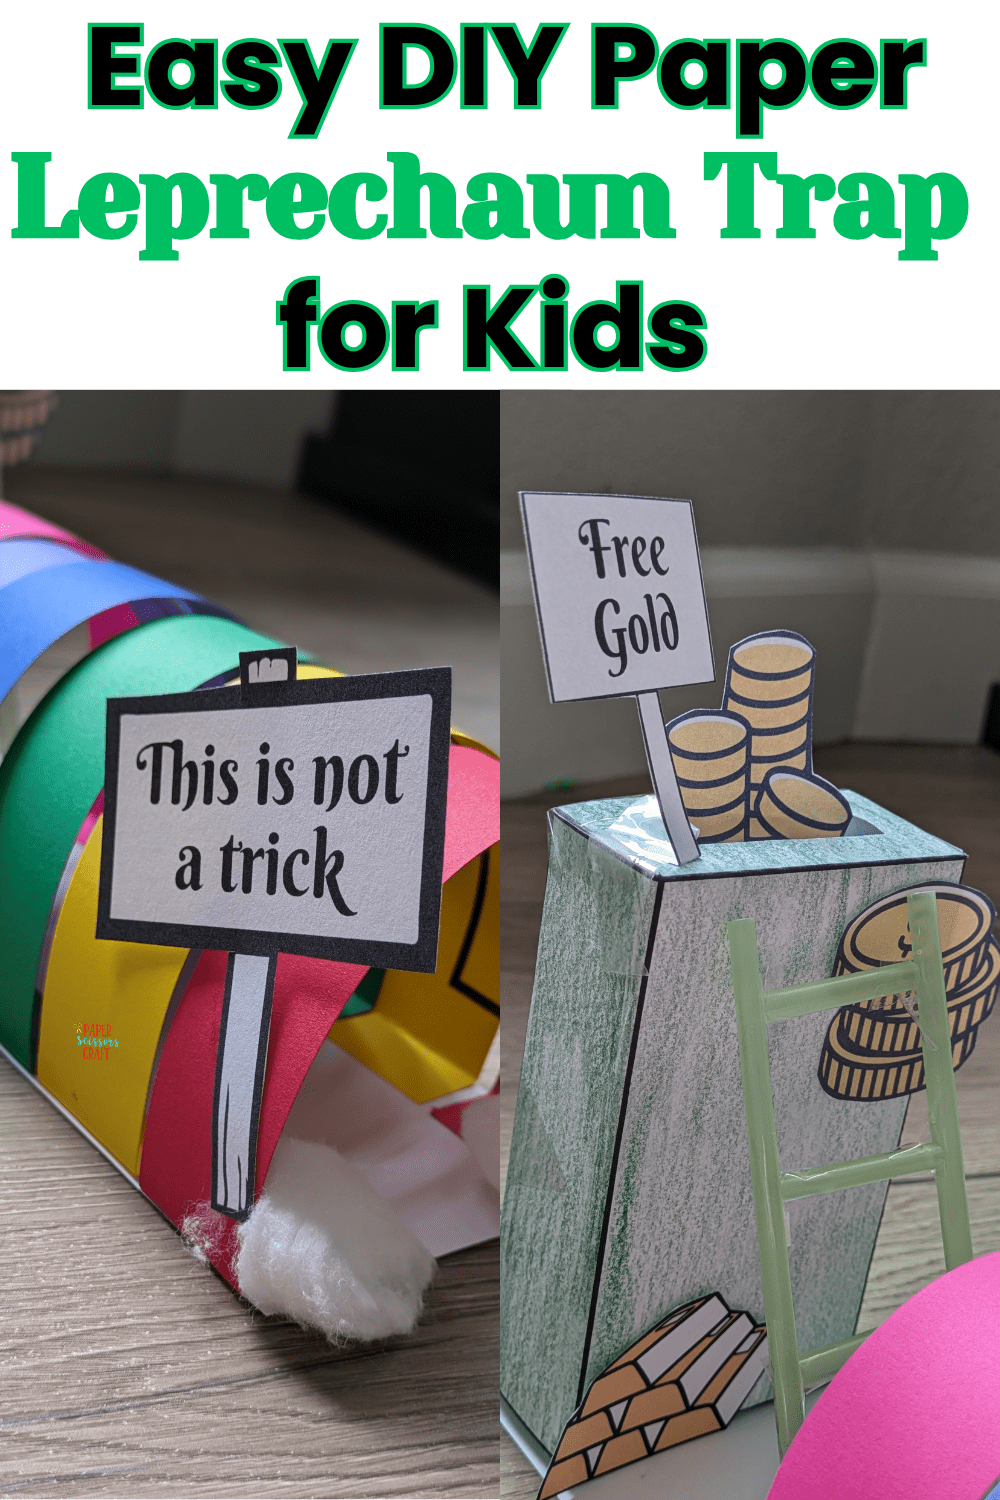
Leprechauns may be sneaky, but with a little creativity, your kids can outsmart them! St. Patrick’s Day is the perfect time to spark your child’s imagination with a fun and easy leprechaun trap.
Using common household items, this hands-on craft is a great way to engage in some mischievous holiday fun while building problem-solving skills. Will your little ones finally catch a leprechaun and find a pot of gold? Let’s get started on making a trap that just might do the trick!
This post contains affiliate links.
Reasons To Make a Leprechaun Trap
Building a leprechaun trap is a fun and creative activity, especially around St. Patrick’s Day! Here are some great reasons to make one:
- Sparks Creativity – Fun designs with rainbows, gold, and glitter.
- Encourages STEM Learning – Problem-solving, engineering, and science skills.
- Festive Fun – A playful way to celebrate St. Patrick’s Day.
- Builds Tradition – A yearly activity for families and classrooms.
- Boosts Imagination – Brings leprechaun magic and storytelling to life.
- Encourages Teamwork – Great for group collaboration.
- Adds Mischief & Surprise – Waking up to leprechaun “pranks” is part of the fun!
How To Make an Easy DIY Leprechaun Trap
Creating an easy leprechaun trap is a fun and simple way to celebrate St. Patrick’s Day! Using household items and a little creativity, you can build a DIY trap to try and catch a sneaky leprechaun. Here’s how to make an easy trap.
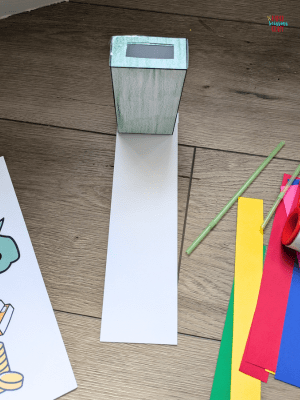
Materials
- Trap Template (optional)
- Colorful Paper (different colors of the rainbow and white, cardstock works best)
- Scissors
- Glue
- Tape
- Cotton balls (optional)
- Straws, popsicle sticks, or toothpicks
- Markers, crayons, or colored pencils

Step 1: Gather Your Supplies
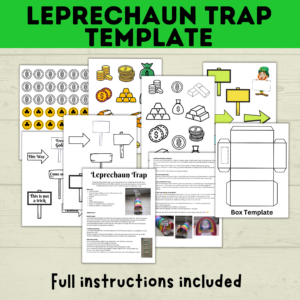
This craft requires a few different materials, but don’t worry—it’s easy to put together! If you’re using the template, go ahead and print it out. While the template isn’t necessary, it does make the process easier by providing a pre-made box template, signs to color, and gold coins to decorate.
There’s also a fully colored version if you prefer to skip the coloring step. If you’re using the template, print it out now. The most important part is the box template, which you’ll use to create the main structure of the trap.
Step 2: Build the Box
Cut out the box template, including the small square along the dotted line—this will become the hole at the top of the trap. Next, fold along the designated lines and secure the tabs to the sides using tape or glue.
Tape is often easier and quicker to work with. Once assembled, the box will serve as the main part of the trap with the hole at the top as the place where the leprechaun will fall in.
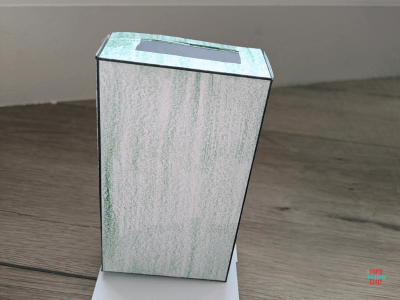
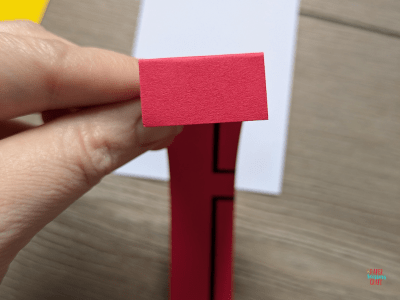
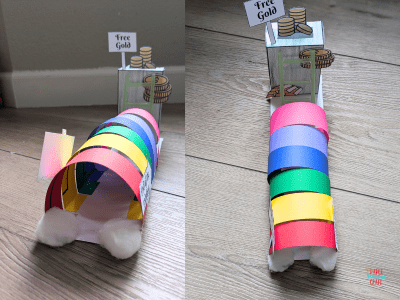
Step 3: Create the Runway
Cut a strip of paper about 3 inches wide and 10 inches long (or longer if you prefer). I used white paper, but you can choose any color. Attach one end of the strip to the bottom of the box using tape or glue. This will act as the “runway” leading up to the trap, making it more inviting for your leprechaun!
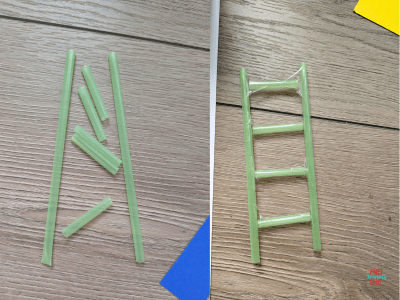
Step 4: Make the Ladder
Now, create a small ladder so the leprechaun can climb up to the trap. I used three straws for mine:
- Cut two straws to the same height as the box.
- Use a third straw to cut small pieces for the rungs.
- Attach the rungs between the two longer straws using tape or glue.
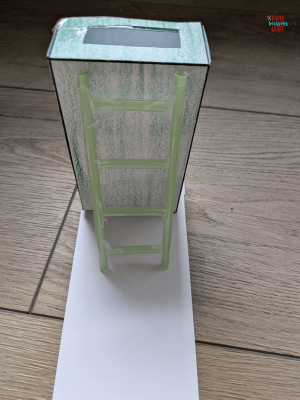
Once assembled, position the ladder so it leans against the runway and/or box. Secure it with tape or glue if needed. You could also use toothpicks, or popsicle sticks if you don’t have straws on hand.
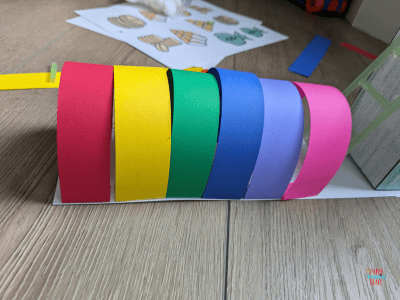
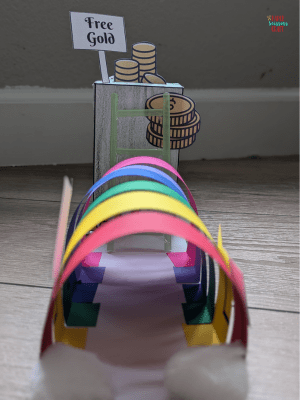
Step 5: Build the Rainbow Archway
To make the rainbow arch, cut strips of colored paper—one for each color of the rainbow, approximately 8 inches long. If you don’t have all the colors, that’s okay! You can repeat or skip colors and still achieve a rainbow effect.
- Take each strip and fold about ½ to 1 inch at both ends to create a flat base for gluing.
- Starting at the bottom of the runway, glue each strip down, curving it over the path to form an arch.
- Continue until the arch reaches the top near the box.

Step 6: Add Clouds (optional)
If you want to add a fluffy touch, glue cotton balls near the entrance of the rainbow or along the sides to resemble clouds. This step is optional, but adds a fun, whimsical look to your trap!

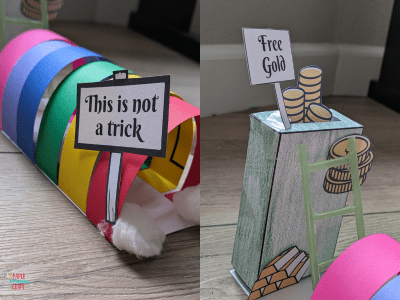
Step 7: Decorate and Set the Trap
Now for the finishing touches. Add the gold coins and signs to make the trap more tempting for the leprechaun. Try placing some gold near the hole on top of the box to encourage the leprechaun to step on it. Arrange signs and decorations around the trap to make it look extra appealing.

Does This Leprechaun Trap Work?
Well…yes and no! 😆 While a leprechaun trap is a fun and creative craft, no one has ever actually caught a real leprechaun (at least that we know of!). The magic of this project is in the imagination and excitement it creates—kids will love setting up the trap and checking it in the morning to see if a leprechaun visited. But, if they did exist, it would work!
To make it even more fun, you can leave behind evidence of a mischievous leprechaun:
🍀 A tiny note or footprints
🌈 Gold coins scattered around (real or chocolate)
💚 A little mess, like tipped-over items, as if the leprechaun escaped
Even though you won’t actually catch one, the joy of pretending makes it worth it! 😊✨Don’t forget your template!
I hope you and your kids have fun creating this easy leprechaun trap!
Creating a leprechaun trap is a fun and magical way to celebrate St. Patrick’s Day with kids! While you may not actually catch a sneaky leprechaun, the excitement of building the trap, setting it up, and discovering “evidence” of a leprechaun’s visit makes it a memorable activity. This simple DIY project encourages creativity, problem-solving, and a little bit of holiday magic.
So gather your supplies, get crafting, and see if your trap is clever enough to tempt a mischievous leprechaun! Who knows? You might just wake up to tiny footprints, scattered gold, or a note from a leprechaun who barely escaped. 🍀🌈✨


Leave A Comment