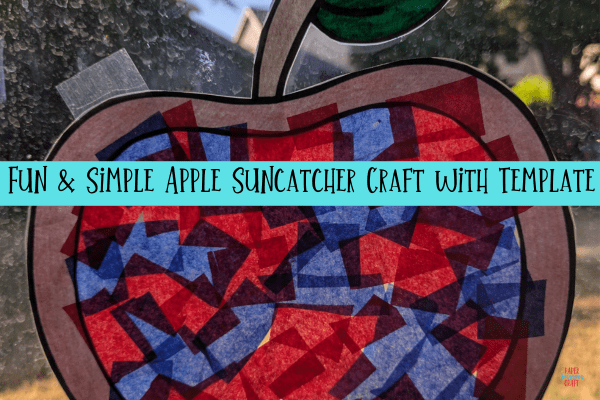
If you’re looking for a craft that you can stare at and admire your work, you’re in the right place. I love doing a craft that can be looked at or played with for longer than it takes to make it. This apple suncatcher craft is great for the fall, but can really be done year round, and it looks really pretty in your window.
You don’t need very many supplies, and it’s a craft that all ages can do. If you want to do it for preschool, you can do some prep work beforehand. Finally, below you will see that you can download my template for FREE to help make this craft amazing.
This post contains affiliate links.
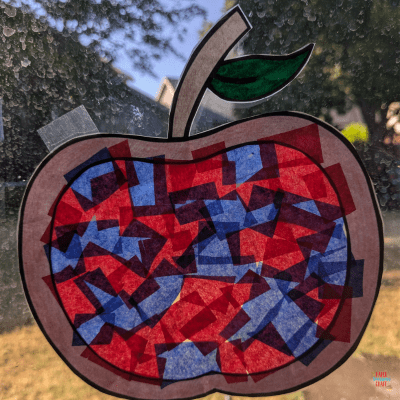
Apple Suncatcher Craft Supplies Needed
You don’t need a lot of supplies, and you probably have most of them on hand. For this apple suncatcher craft you will need the following:
- Template
- Scissors
- Coloring utensils
- Tissue paper
- Contact paper – If you don’t have it on hand, clear tape would also do the trick, but it would take a little more work
- Glue (optional)
- Construction paper (optional)
Free Apple Suncatcher Craft Template
Download the free apple template here.
How To Make an Apple Suncatcher
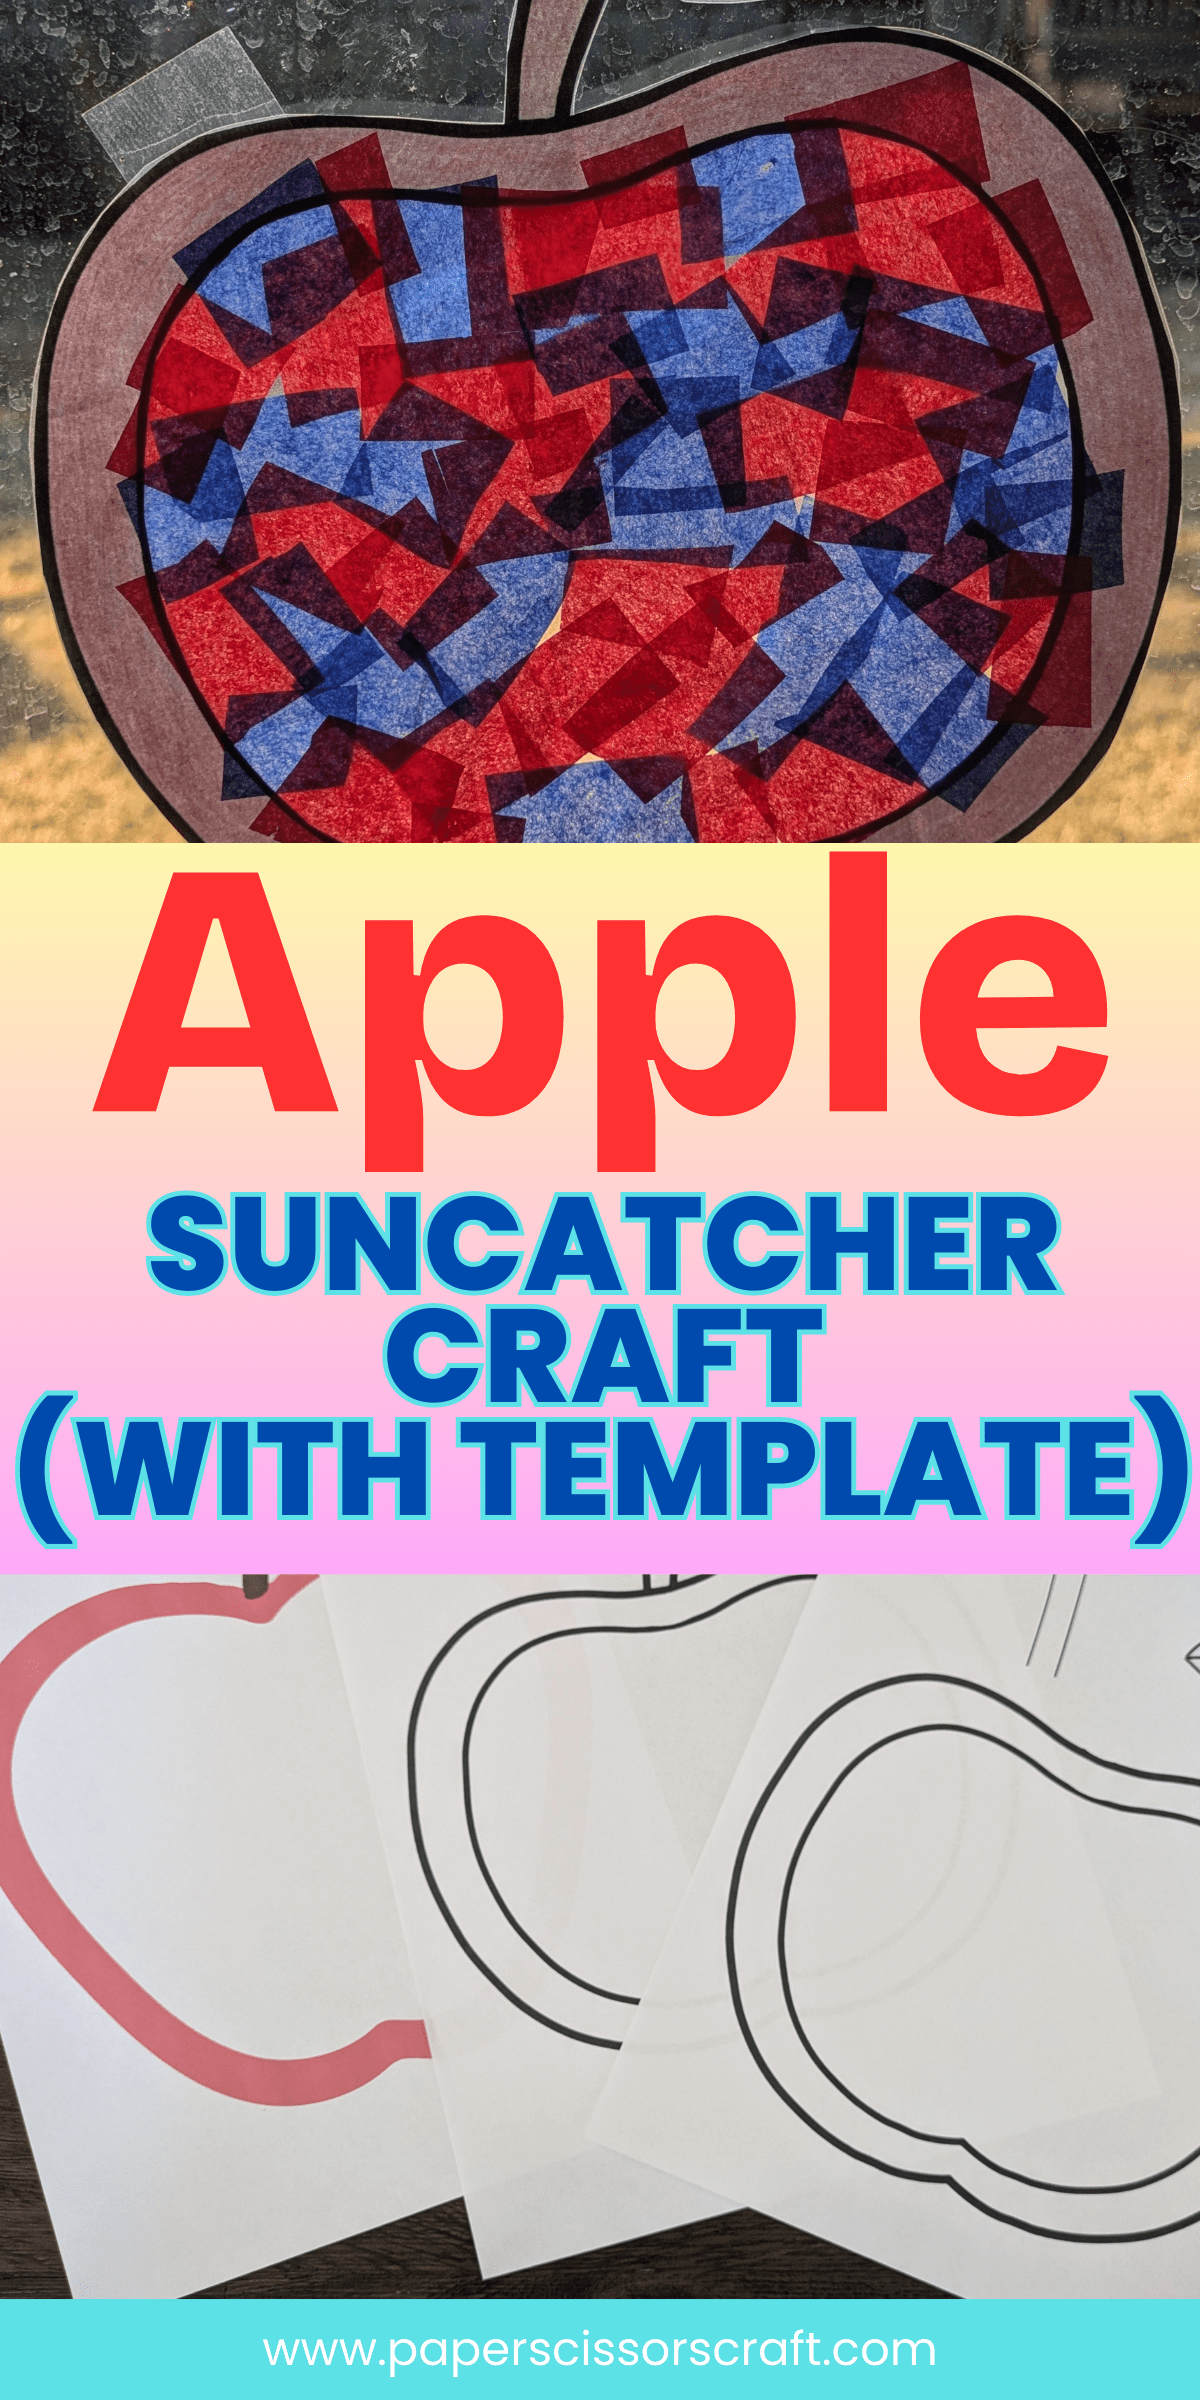
There are 3 different ways to do this craft depending on which template you download. I will give you instructions for each one.
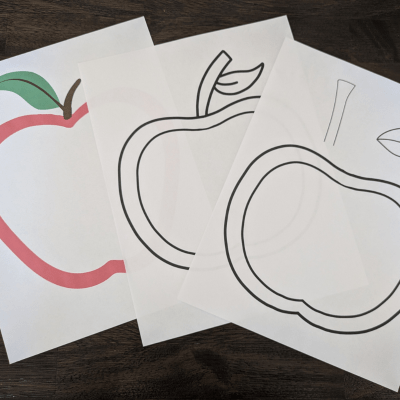
Print out the template of your choosing, and depending on which one you choose to use, you will need different supplies.
Step 1 – If you print out the colored one:
- This is the simplest one. Once you print it out, cut it out and cut out the center piece of the apple.
If you print out the one in pieces:
- You’re going to cut out the pieces and then use them as a template to cut out the colored construction paper. So, you would cut out the leaf onto green construction paper, and the apple onto red, etc.
- You can either glue them together after cutting them out, or use the contact paper (as explained in step 2) to hold them together.
If you cut out the plain one:
- Color the apple, and then cut it out and cut out the center piece of the apple. This is the one I did, so this is the one I have pictures for.
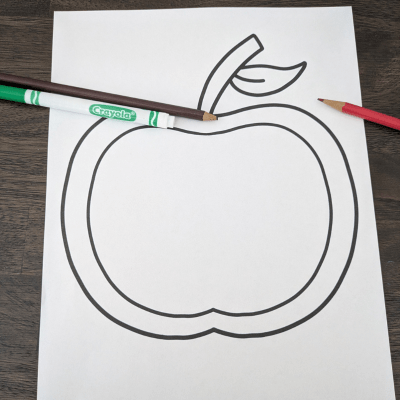
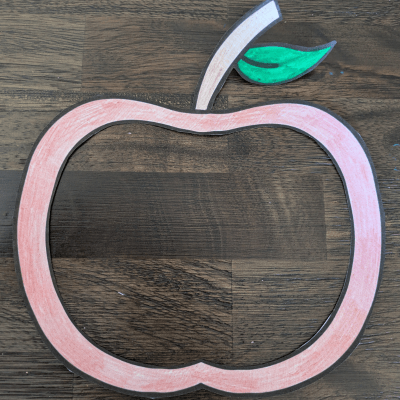
Step 2 – For all the different templates:
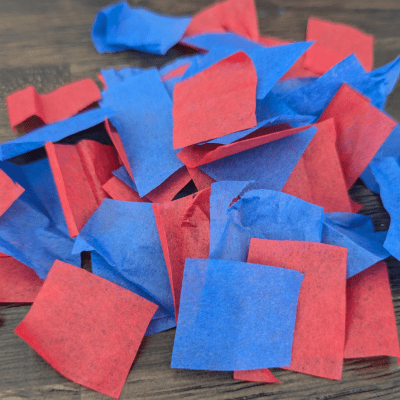
- Cut up a bunch of tissue paper (any color) into squares.
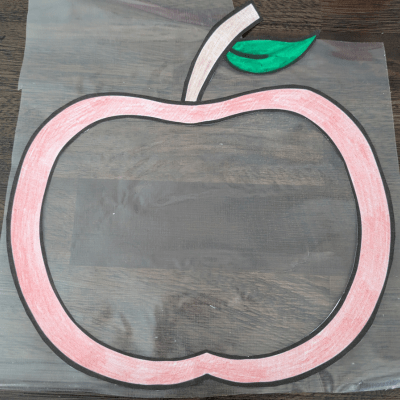
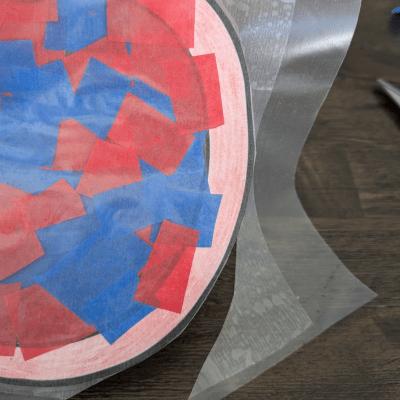
- Cut out a piece of contact paper about the size of your apple. Place the apple on the contact paper with the front side touching the sticky part. If your apple is in pieces, you can place them together on the contact paper using the contact paper as glue. I made a mistake here, and I put the contact paper on the back of the apple. It’s not a big deal, you just won’t get that nice border on the front.
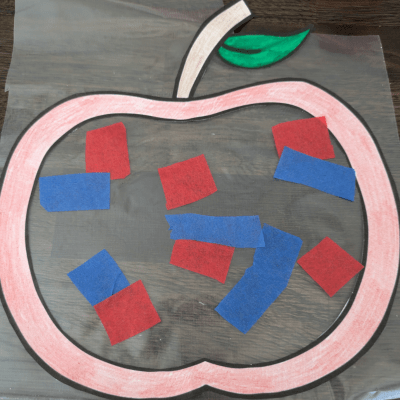
- Then add in your square tissue paper inside the apple onto the contact paper.
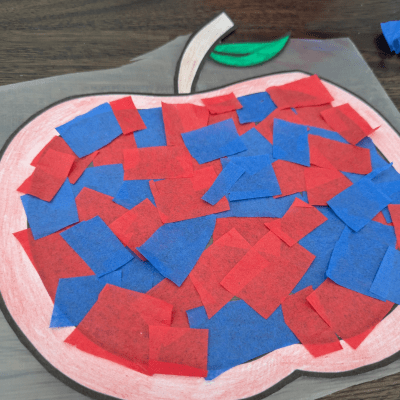
- Cut out another piece of contact paper and place it on the back side of the apple.
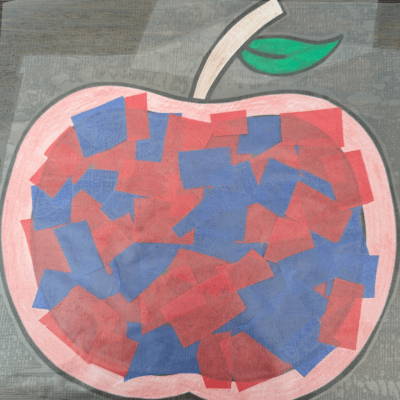
- Cut around the apple to cut out all the excess contact paper.
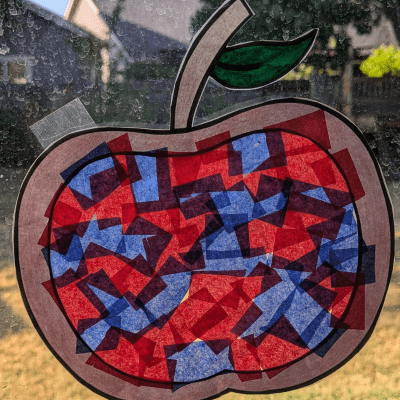
- Hang in your window to catch the sun.
What Age Is This Craft Appropriate For?
This craft can really be done with any age. It was fun for my 10 year-old, and I’m sure it could be fun for a preschooler. You might want to do some prep work with a preschooler and cut out the apple and center of the apple, and they can do the rest. Their favorite part would probably be sticking the tissue paper onto the apple.
I hope you have fun creating this fun fall craft with your kids!
I hope you enjoy this fun and simple craft to hang in your house or classroom. This would be a fun fall craft at school to hang in the windows. You don’t need too many supplies, and the templates make it super easy for you. You can download it for free just visit my shop.


Leave A Comment