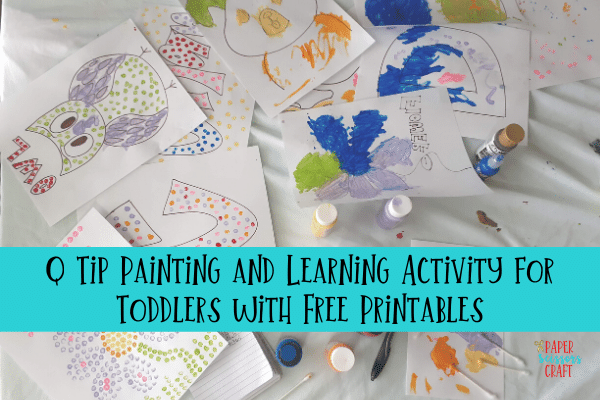
Q-tip painting is a really fun and engaging toddler activity. It’s also great for working on fine motor skills. In this post you will learn a simple way to paint with Q-tips.
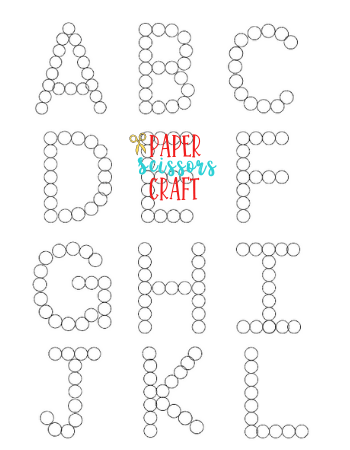
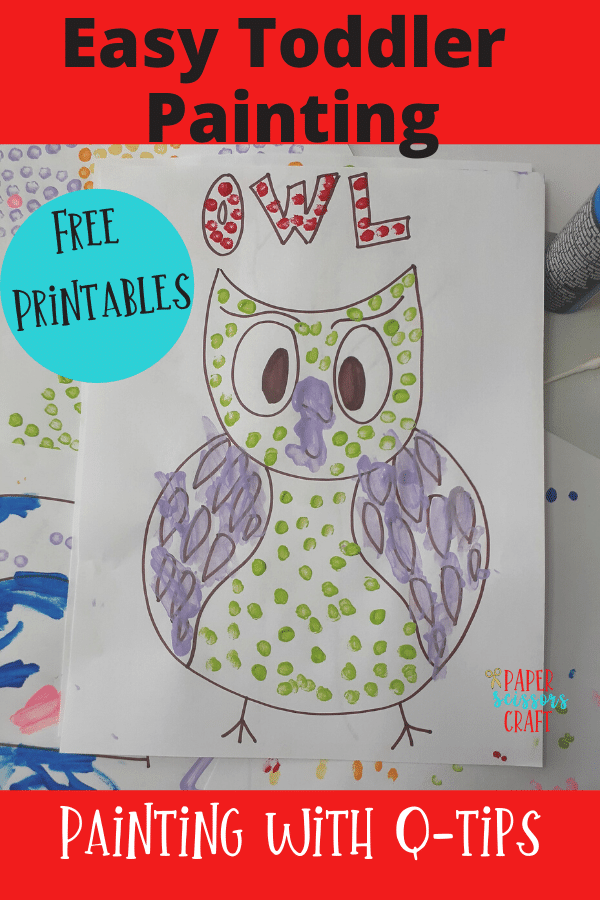
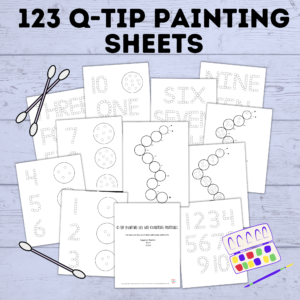
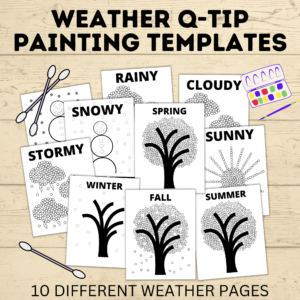
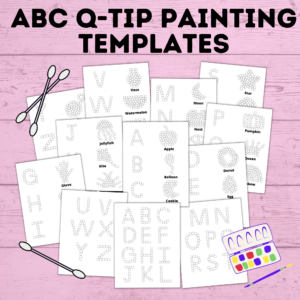
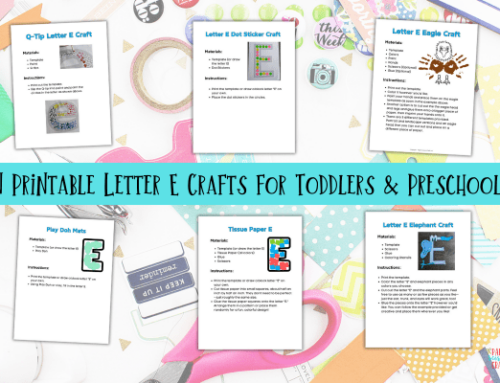
Be sure you grab your FREE printables below and check out the additional templates I have available as well.
This post contains affiliate links.
You can also purchase EVEN MORE sheets with my Q-tip Painting Worksheets bundle. Or, you can get more specific worksheets that are listed below:
Why Q-Tip Painting Is Great for Toddlers
I don’t know about you, but too often when my kids ask to paint my first thought is…ugh.
I love painting with my kids, don’t get me wrong, but I have to be in the mood because it can be a huge chore. It’s not really a project that you can NOT supervise, cause that’s how paint gets into your carpet. #weveallbeenthere
It can be really fun to paint, but it can also be really daunting because you have to get all the paint out, put down a protective shield, change clothes or find the paint aprons, clean brushes, and make sure messy hands don’t touch couches on the way to the sink. It can be work, especially with toddlers.
I saw that Q-tip painting has been a “thing” lately, so I decided to give it a try. Let me tell ya, it’s easier than regular painting, and it’s fun.
It puts a twist on painting. Several professionals use Q-tips in their paintings, and they can make amazing things. I am not one of them, but my toddler thought it was cool.
It is easier because it’s less messy, it’s easier to keep the kiddos from mixing colors, it’s an easier clean up, and you don’t need as much paint. I would encourage you to give it a try. You probably have all the supplies on hand.
This is a fun activity that you can easily turn into a learning activity for your toddler.
How To Do Q-Tip Painting
Supplies:
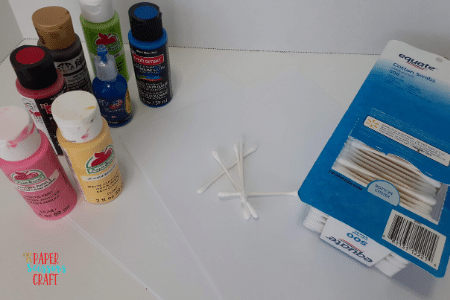
- Q-tips
- Paint, I use Acrylic paints
- Paper (card-stock would be great)
- Q-tip painting templates, if desired
Instructions:
Place your paint on a paint tray, paper plate, or (if you don’t have either) you can use just a folded up piece of copy paper.
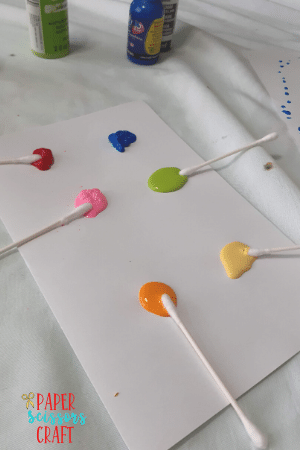
Place a Q-tip in each different color, so that each color has its own assigned Q-tip. This helps a ton to keep the messiness at bay.
Using the painting templates, doodle, or a plain piece of paper, dip your Q-tip in your paint and start painting on your paper with dots. You could also get a coloring book and tear out some pages to paint. This works because you can only get so much paint on a Q-tip.
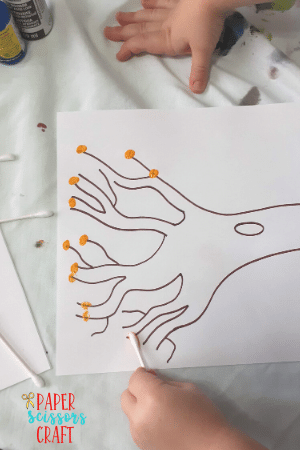
Clean up by throwing all the Q-tips away. No brush washing. Hopefully, your kiddos didn’t make too much of a mess so you won’t have too much to clean up there either.
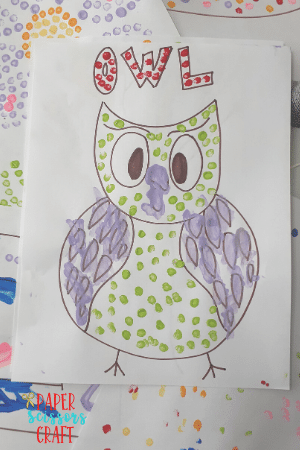
I would almost consider making this an unsupervised project, but my anxiety won’t let me, haha. My son and I did this activity together and he loved it.
He just turned 3 and he kept asking for more papers to paint. When we were done we put our wonderful Q-tip paintings on our display wall.
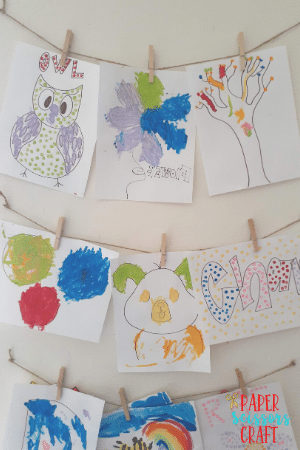
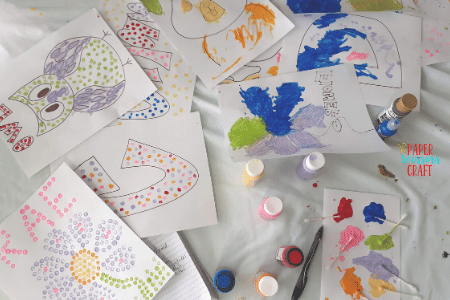
Q-tip painting is a great last minute craft idea when you need to be the “fun mom”!
I definitely recommend trying to do some painting using Q-tips with your kids. It’s a really great activity for toddlers and not as messy at regular painting.
Finally, don’t forget to download your Q-tip painting templates or grab your Q-tip Painting Sheets FREEBIE.
Other toddler crafts that might interest you:
- How to Make Homemade Stamps for Painting
- How to Paint with Straws and Kids
- 11 Easy Crafts and Activities your Toddler will Actually Engage in

This is such a fun idea! I’m going to try this with my toddler tomorrow. 😊
Thank you!
Love it!! Trying this over the weekend and definitely using the printables 💃 I’ll dip the qtips in my finger paint pots 😆
Haha, love it!