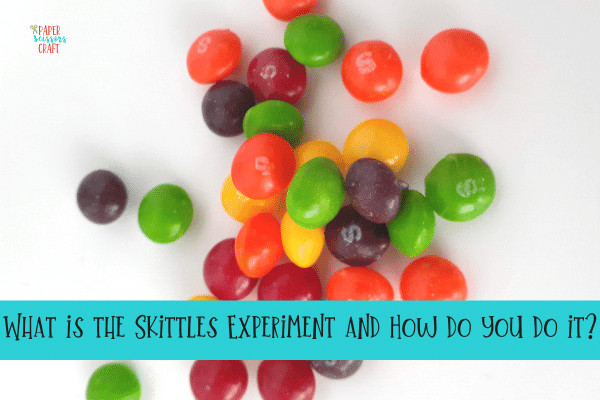
What is the Skittles Experiment and How do you do it?
In this post you will learn how to do a quick and easy science experiment with the Skittles Experiment. If you would like the scientific method worksheet that goes along with this experiment, you can download it here.
This post contains affiliate links.
Skittles
I’m going to be honest. I hate skittles. I do. I’m not a huge fan of fruity candy in general. Now, I do love some sour skittles, but you can only eat so many before you completely tear up the roof of your mouth. #youknowwhatimsaying?
However, my kids love skittles, so when they found out we were doing an experiment with Skittles, their first questions was: when can we eat them?
It was hard, but they resisted. I think that’s what makes this experiment so exciting! It’s an experiment and a treat! :0
This is such a simple activity and it’s pretty cool. It works really fast, which makes it fun for the kids.
Since I don’t really like skittles, I don’t usually have them on hand, but I keep a stash of candy, and fun kid items in my closet, and I just happen to find a half- eaten pack of valentine’s day skittles. (Note to self: Skittles are good to have on hand for multiple reasons).
If you like this experiment, check out my 13 Easy Science Experiments for Kids with Household Items science ebook. Great for kids! I also have a worksheet designed specifically for this experiment to help kids learn the scientific method.
Here is how we did the Skittles Experiment.
This post contains affiliate links.
Skittles Experiment
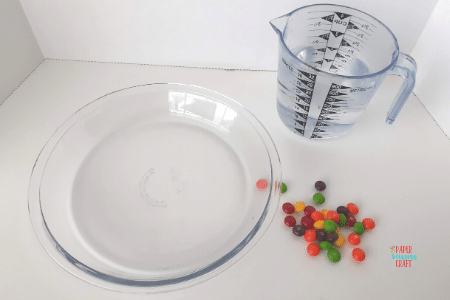
Supplies:
Pie pan (a cake pan, or any circular, shallow pan will work)
Warm Water
Skittles
Skittles Experiment Worksheet
Instructions:
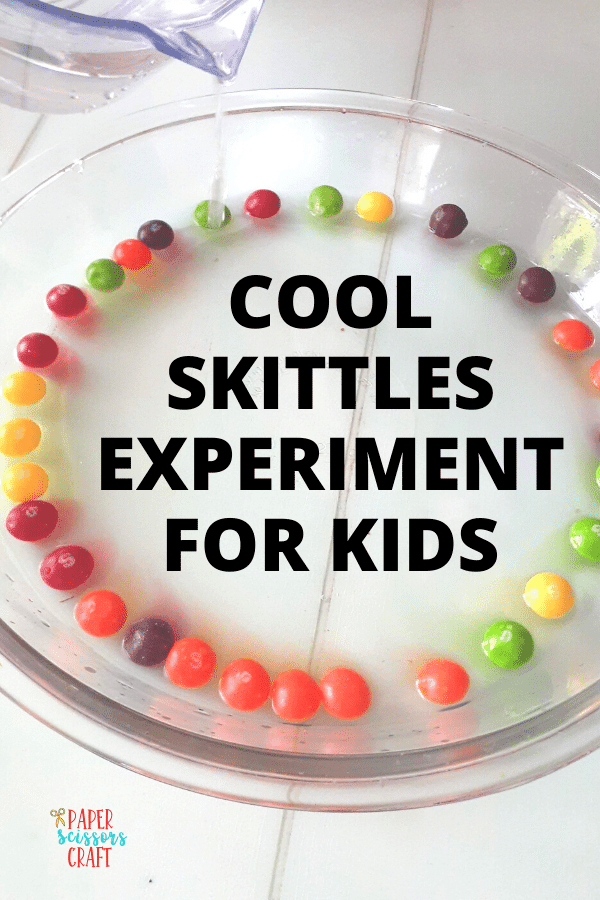
Place the Skittles on the edge of the pie pan.
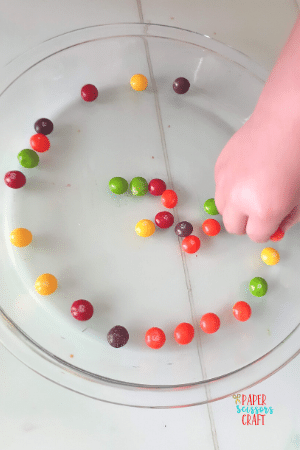
Side note: I think it’s cooler if you place them in some sort of pattern or in a rainbow. You can space them as far as you like, the more the better. Since we only had half a small pack, we spaced ours a little.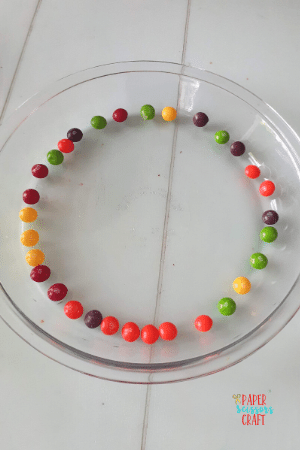
Slowly pour the water into the center of the pan until the Skittles are just barely in the water.
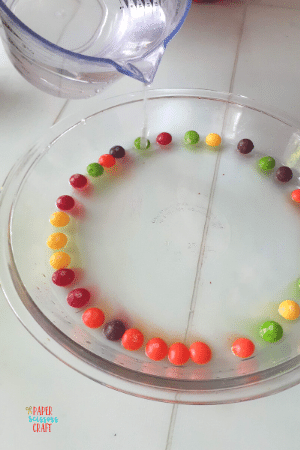
Tip: You don’t want to cover the Skittles. I did it until the Skittles were about halfway submerge. You use your discretion.
Watch as the coating of the Skittles slowly dissolve into the water creating a rainbow effect. It’s super cool.
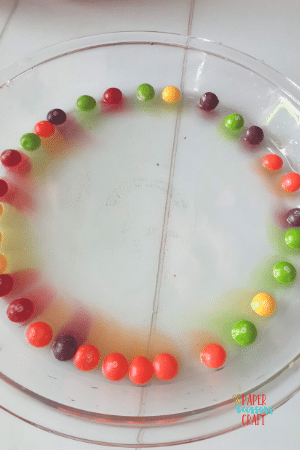
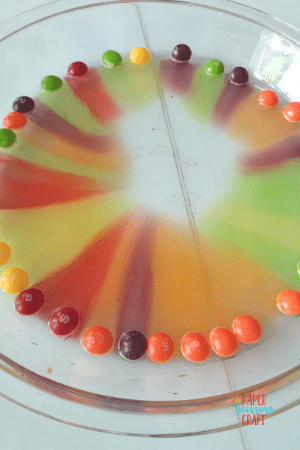
Here is a video of our Skittles experiment:
You can do this again and again.
Also, in case you were wondering, you can still eat them after they’ve been in the water. According to my kids, they still taste like Skittles.
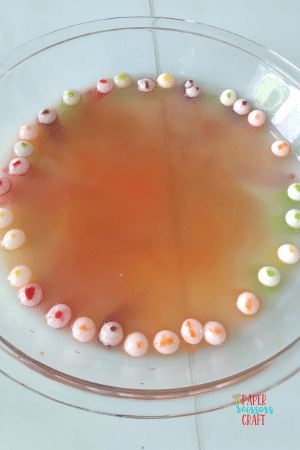
If you’ve done this experiment, post pictures below, we’d love to see your patterns and designs that came out.
Don’t forget to check out the easy science book for kids!, or the worksheet.
Related: 9 Easy Science Experiments for kids with Household Items
Related: How to Make Balloon Rockets
Related: 10 Surprisingly Fun Activities and Crafts with Balloons




The Skittles Experiment as it is often called, is an example of a simple A/B test. It’s a way to quickly test a hypothesis. The experiment was created by a single marketer who wanted to prove a point about the power of Facebook advertising.
Interesting! Thanks for sharing!